DIY How to Make a Bathtub Worm Bin: Transform Your Waste into Rich Compost
Creating a worm bin is an eco-friendly way to recycle organic waste and produce nutrient-rich compost for your garden. If you have an old bathtub lying around, it can be the perfect container for your worm bin. In this guide, we will walk you through the process of making a bathtub worm bin, ensuring that your project is both effective and sustainable.
Why Choose a Bathtub for a Worm Bin?
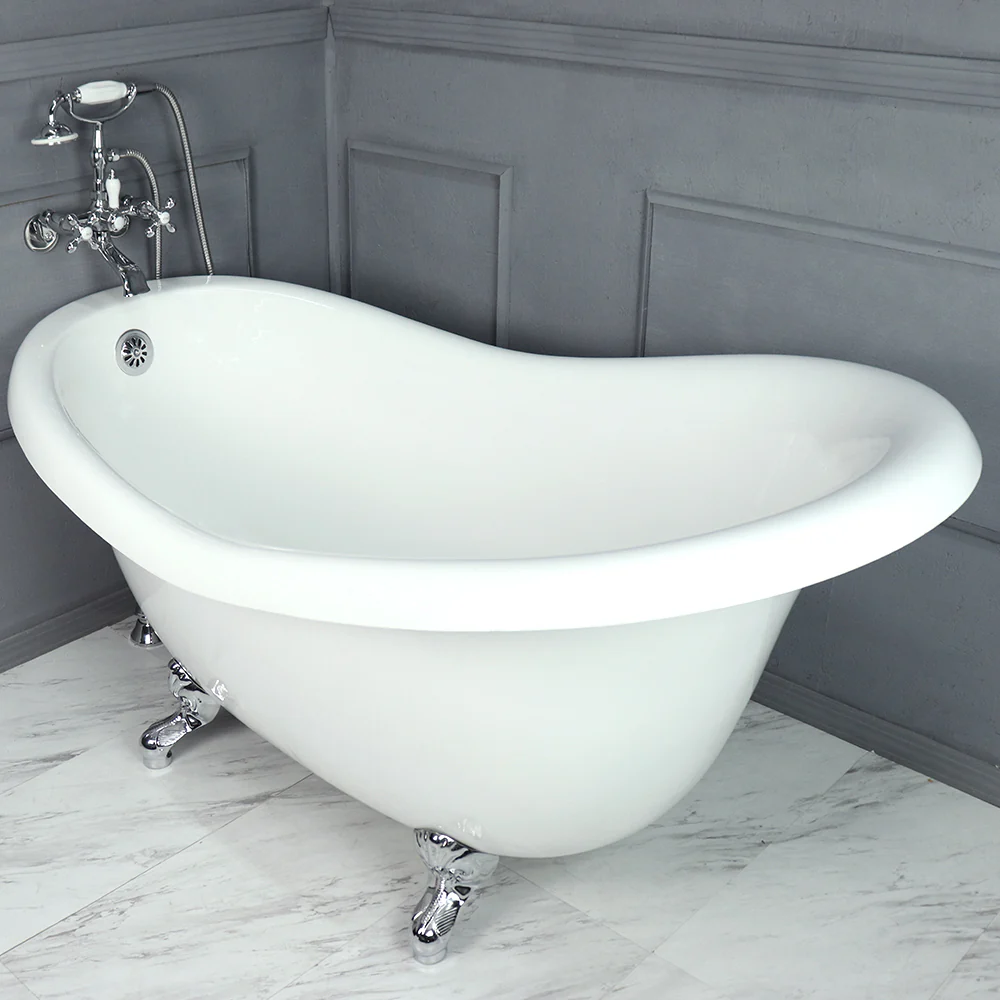
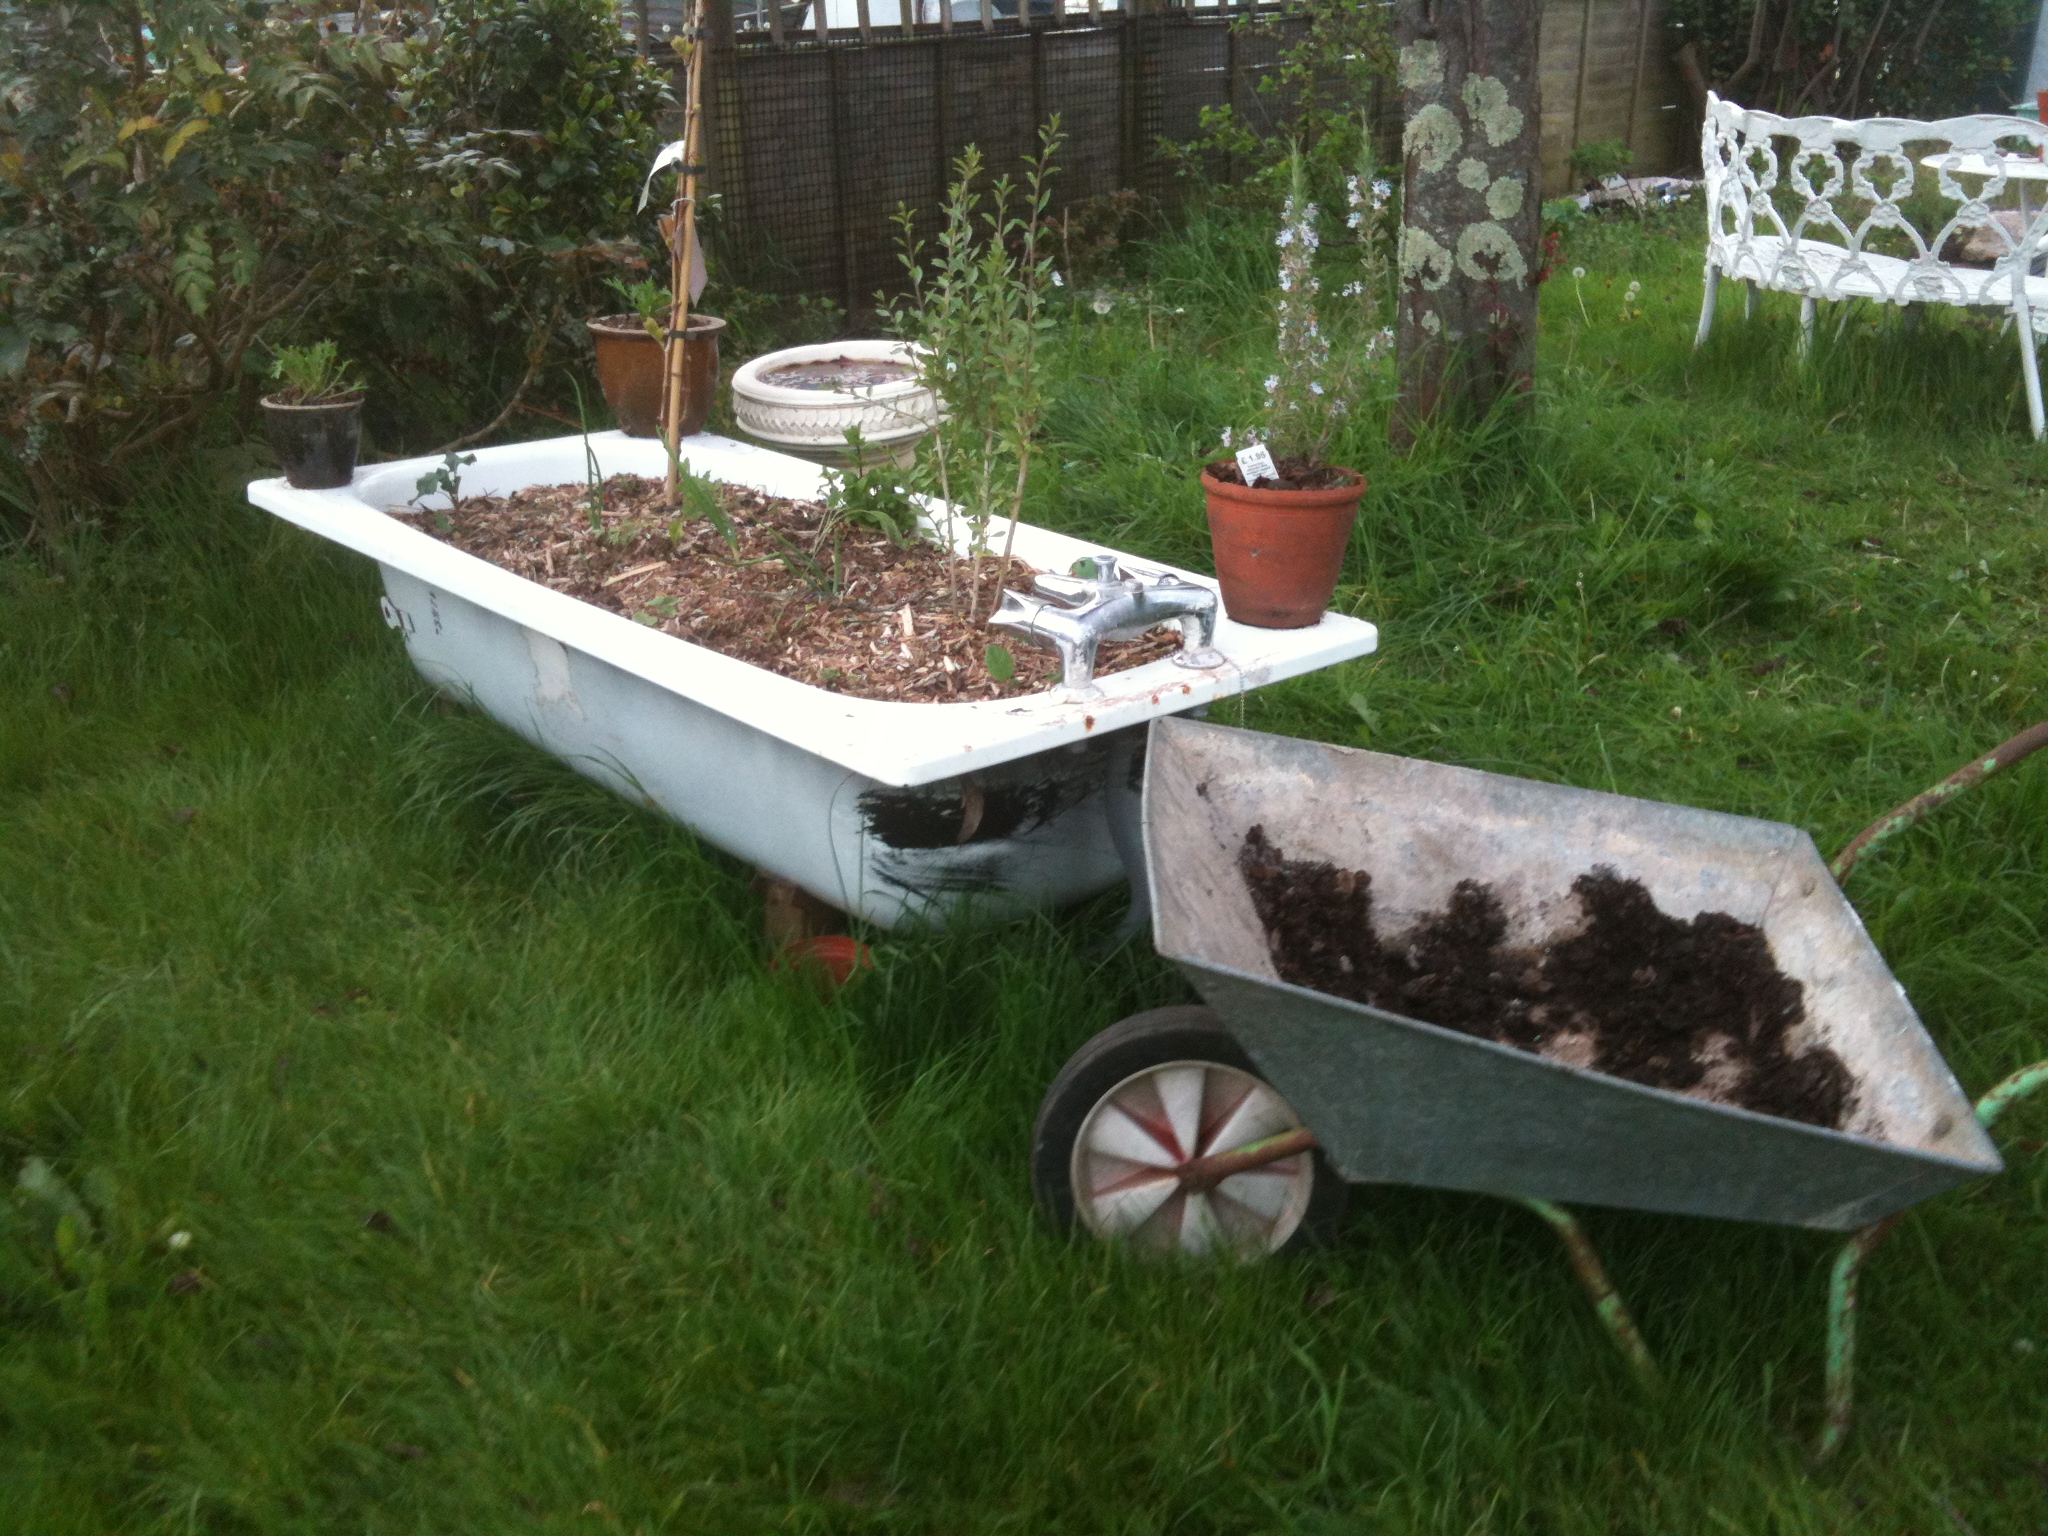
Bathtubs are ideal for worm bins because of their size, durability, and ability to retain moisture while providing adequate space for worms to thrive. Using an old bathtub not only repurposes an otherwise discarded item but also creates a large-scale composting system that can handle significant amounts of organic waste.
Related: Tree pruning service: essential tips for homeowners.
Materials Needed for Your DIY Bathtub Worm Bin
Before you start, gather the following materials:
- Old Bathtub: This will serve as the main container for your worm bin. Ensure it is clean and free of any toxic residues.
- Drain Plug or Mesh: To cover the drain and prevent worms from escaping while allowing excess moisture to drain out.
- Cinder Blocks or Bricks: These will be used to elevate the bathtub, allowing for proper drainage.
- Bedding Material: This can include shredded newspaper, cardboard, coconut coir, or a mix of all three.
- Worms: Red wigglers (Eisenia fetida) are the best choice for vermicomposting.
- Compostable Material: Kitchen scraps, coffee grounds, and yard waste are excellent food sources for your worms.
- Garden Fork or Trowel: For mixing the bedding and compost.
- Plastic or Burlap Cover: To maintain moisture levels within the worm bin.
Step-by-Step Guide to Building Your Bathtub Worm Bin
1. Prepare the Bathtub
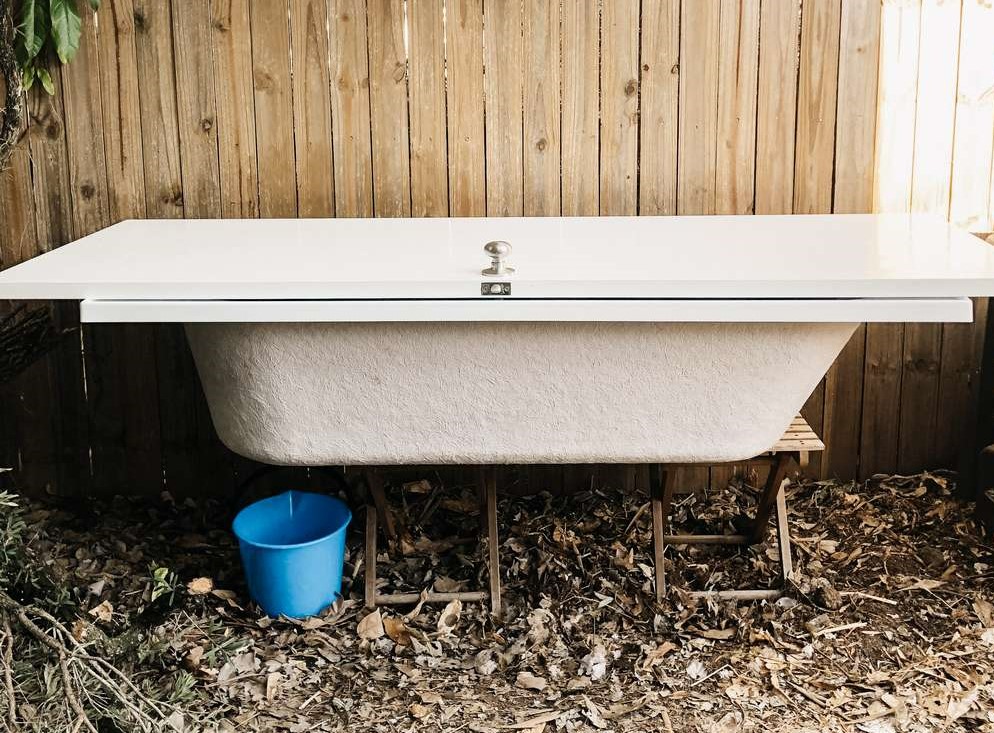
Start by thoroughly cleaning the bathtub to remove any soap scum, grime, or chemical residues. This step is crucial as leftover chemicals can harm your worms. Once cleaned, place the bathtub on a set of cinder blocks or bricks, ensuring that it is elevated enough to allow for drainage. The elevation will also make it easier to collect the compost tea that drains out.
2. Set Up Drainage
Cover the drain hole with a fine mesh or a piece of cloth. This prevents the worms from escaping while still allowing excess water to drain out. If your bathtub doesn’t have a drain plug, you can create one using a small piece of PVC pipe fitted with a mesh screen.
3. Add the Bedding
The bedding serves as the worms’ habitat and initial food source. It should be moist but not soaking wet. Fill the bathtub with about 8-12 inches of bedding material. This can include shredded newspaper, cardboard, or coconut coir. Ensure the bedding is loose and well-mixed to provide ample airflow, which is vital for worm health.
4. Introduce the Worms
Once the bedding is in place, it’s time to add your worms. Red wigglers are the most efficient worms for composting and can consume their weight in organic material daily. Spread the worms evenly across the bedding and allow them to burrow into it naturally. It’s essential to introduce the worms in the evening or during cooler parts of the day to avoid stressing them.
5. Feed the Worms
Now that your worms are settled, you can begin feeding them. Start with small amounts of food scraps, gradually increasing as the worms multiply. Ideal food scraps include vegetable peels, fruit scraps, coffee grounds, eggshells, and tea bags. Avoid meat, dairy, and oily foods as these can attract pests and create odors. Bury the food in the bedding to prevent fruit flies and keep the bin tidy.

6. Cover the Bin
Cover the bedding with a plastic sheet or burlap sack to help retain moisture and keep light out. Worms thrive in dark, moist environments, and the cover will create the perfect conditions for them. Ensure that the cover allows for some airflow to prevent the bin from becoming too wet.
7. Maintain the Worm Bin
Maintaining the bathtub worm bin is relatively simple. Keep an eye on the moisture levels, ensuring the bedding remains damp but not waterlogged. If the bin becomes too dry, lightly mist it with water. Regularly check the worm bin to ensure the worms are healthy and reproducing. Every few weeks, gently turn the bedding with a garden fork or trowel to aerate the compost and prevent compacting.
Harvesting the Compost
After about three to six months, your worms will have converted the bedding and food scraps into rich, dark compost. To harvest, push the compost to one side of the bathtub and add fresh bedding and food to the other side. Over the course of a week, the worms will migrate to the new food source, leaving behind the compost. You can then scoop out the compost and use it in your garden.
Benefits of a Bathtub Worm Bin
Using a bathtub worm bin offers several advantages:
- Large Capacity: A bathtub can hold a significant amount of organic waste, making it suitable for households with substantial kitchen waste.
- Durability: Bathtubs are built to last, ensuring your worm bin will be a long-term solution for waste management.
- Eco-Friendly: Repurposing an old bathtub reduces waste and promotes sustainability.
- High-Quality Compost: Vermicompost is rich in nutrients, enhancing soil fertility and promoting healthy plant growth.
Common Issues and Troubleshooting
Even with proper setup and maintenance, you might encounter some issues. Here are a few common problems and how to address them:
- Foul Odors: If the bin starts to smell, it’s likely too wet or overfed. Add more dry bedding and reduce the amount of food added until the smell subsides.
- Fruit Flies: Fruit flies are attracted to exposed food. To avoid this, ensure all food scraps are buried in the bedding.
- Worms Escaping: If you notice worms trying to leave the bin, it could be due to poor conditions. Check the moisture level, temperature, and pH of the bin and adjust accordingly.

DIY Bathtub Worm Bin Tips
To maximize the success of your worm bin, consider these additional tips:
- Start Small: If you’re new to vermicomposting, start with a smaller amount of worms and gradually increase as you become more comfortable with the process.
- Monitor Temperature: Worms prefer temperatures between 55-77°F (13-25°C). In extreme weather, consider moving the bin to a more temperature-controlled environment.
- Use Diverse Bedding: A mix of different bedding materials can provide a more balanced environment for the worms.
- Collect Compost Tea: The liquid that drains from the worm bin, known as compost tea, is an excellent liquid fertilizer for your plants. Place a bucket under the drain to collect this valuable byproduct.
Conclusion
Building a DIY bathtub worm bin is an effective and sustainable way to manage organic waste and produce high-quality compost for your garden. With proper setup and maintenance, your worm bin will provide you with rich compost and a satisfying way to contribute to environmental conservation. By following this guide, you’ll be well on your way to transforming your food scraps into garden gold while giving new life to an old bathtub.

