DIY How to Make a Bathtub Worm Bin: Transform Your Waste into Rich Compost

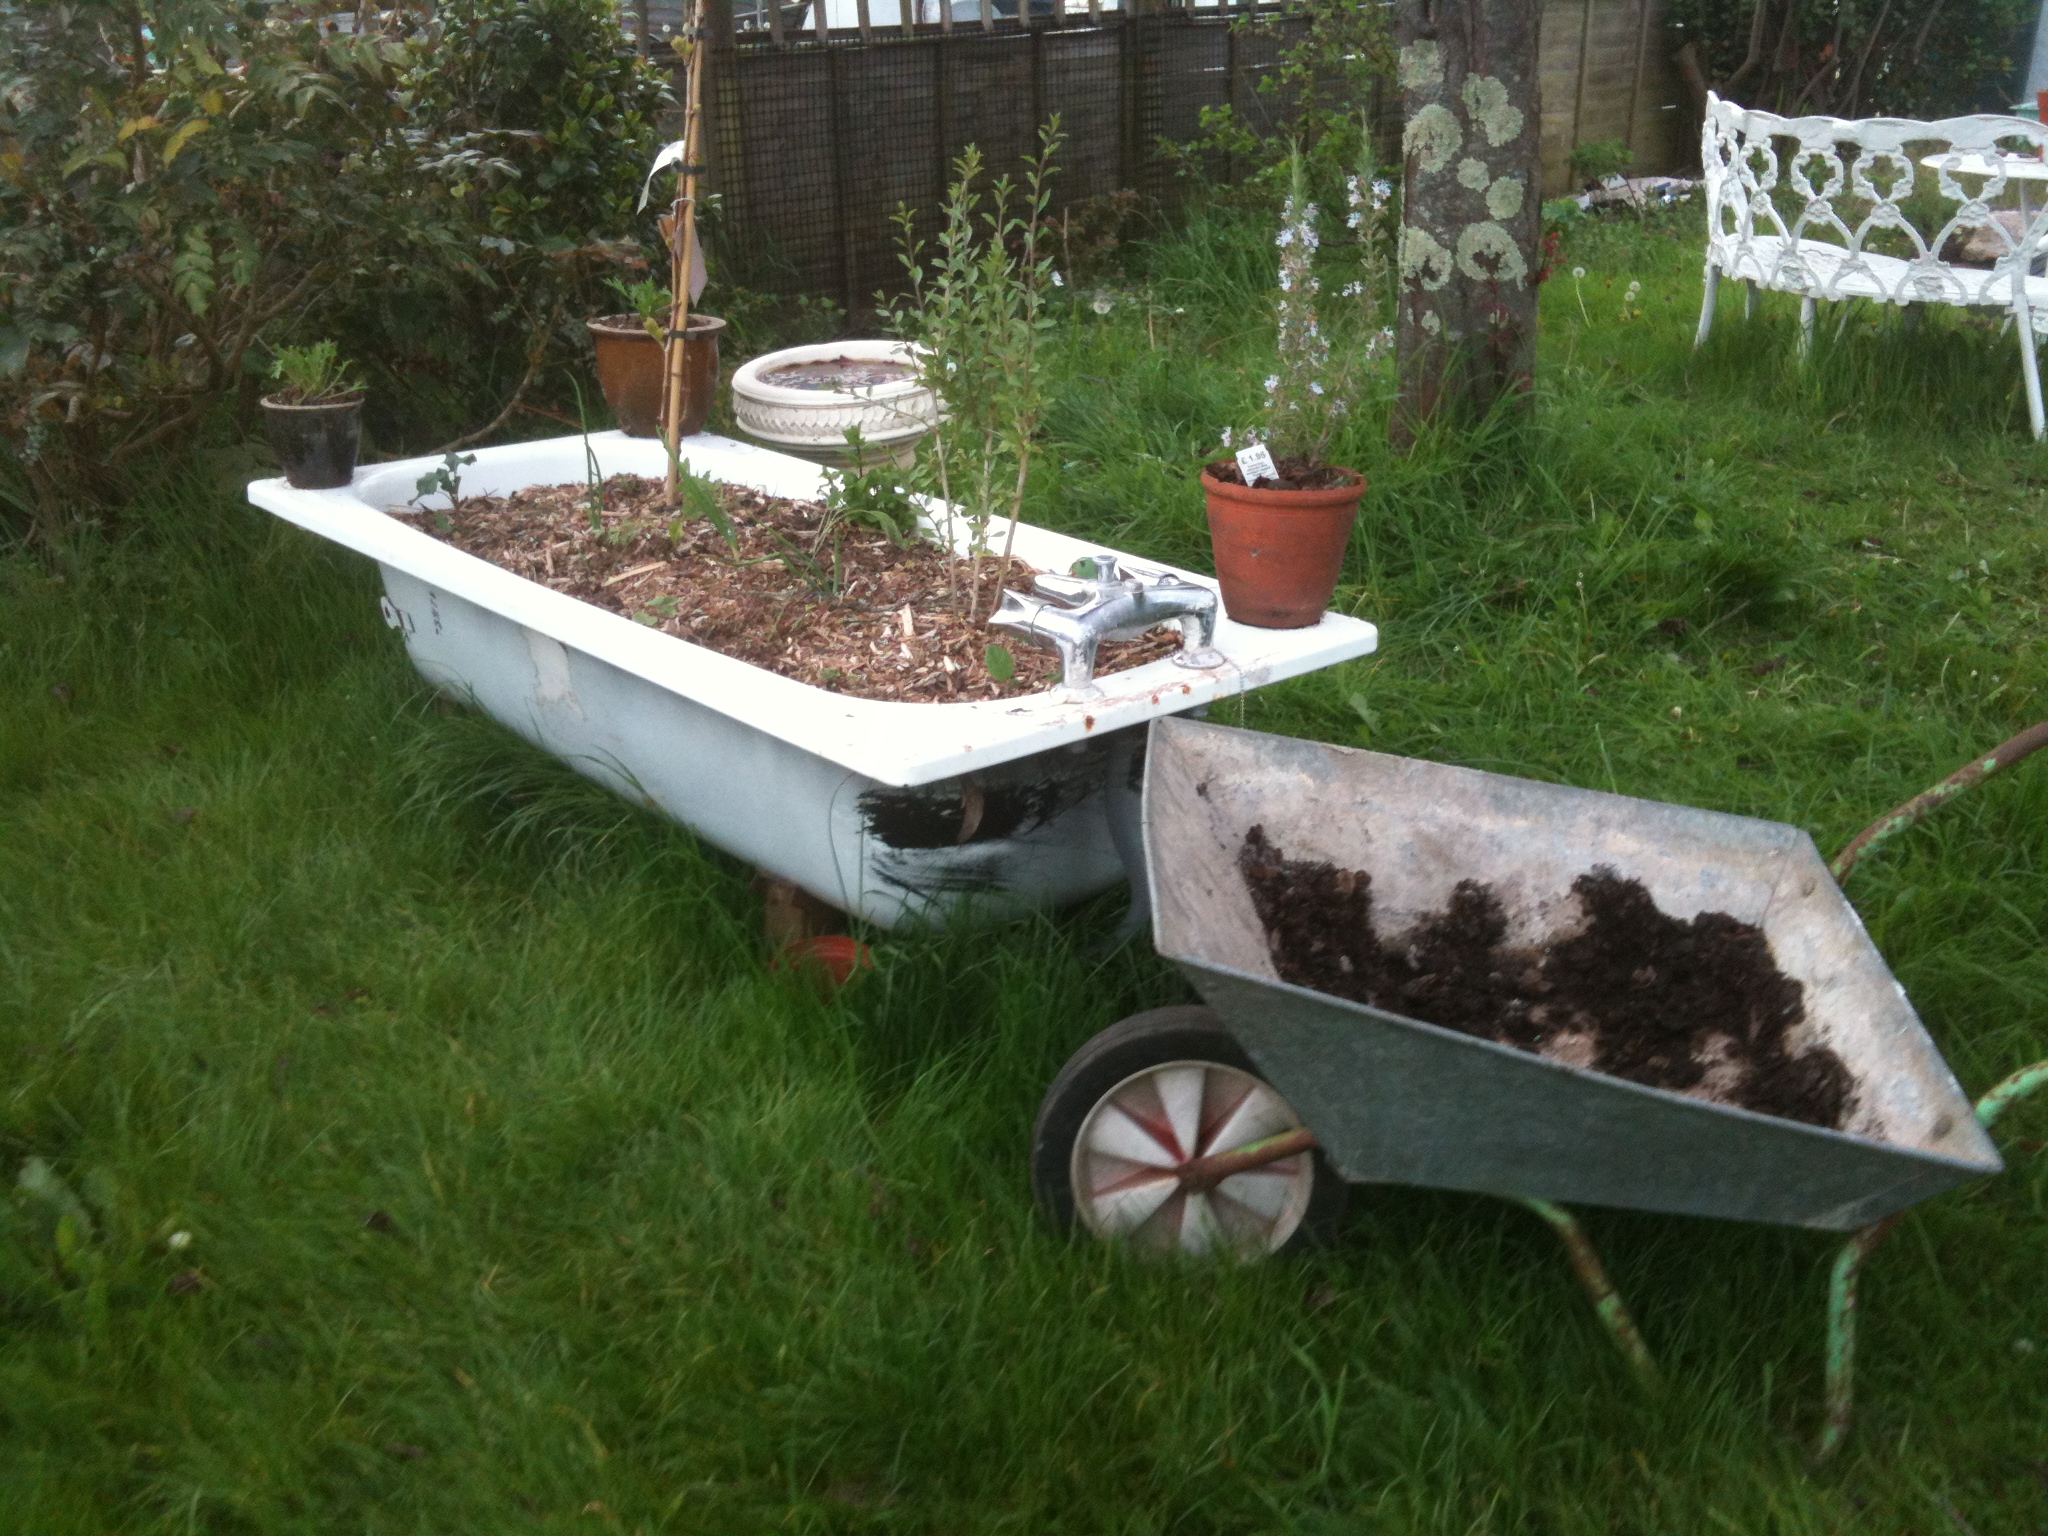
Creating a worm bin is an eco-friendly way to recycle organic waste and produce nutrient-rich compost for your garden. If you have an old bathtub lying around, it can be the perfect container for your worm bin. In this guide, we will walk you through the process of making a bathtub worm bin, ensuring that your project is both effective and sustainable.

Why Choose a Bathtub for a Worm Bin?

Bathtubs are ideal for worm bins because of their size, durability, and ability to retain moisture while providing adequate space for worms to thrive. Using an old bathtub not only repurposes an otherwise discarded item but also creates a large-scale composting system that can handle significant amounts of organic waste.

Related: Tree pruning service: essential tips for homeowners.

Materials Needed for Your DIY Bathtub Worm Bin

Before you start, gather the following materials:

  • Old Bathtub: This will serve as the main container for your worm bin. Ensure it is clean and free of any toxic residues.
  • Drain Plug or Mesh: To cover the drain and prevent worms from escaping while allowing excess moisture to drain out.
  • Cinder Blocks or Bricks: These will be used to elevate the bathtub, allowing for proper drainage.
  • Bedding Material: This can include shredded newspaper, cardboard, coconut coir, or a mix of all three.
  • Worms: Red wigglers (Eisenia fetida) are the best choice for vermicomposting.
  • Compostable Material: Kitchen scraps, coffee grounds, and yard waste are excellent food sources for your worms.
  • Garden Fork or Trowel: For mixing the bedding and compost.
  • Plastic or Burlap Cover: To maintain moisture levels within the worm bin.

Step-by-Step Guide to Building Your Bathtub Worm Bin

1. Prepare the Bathtub

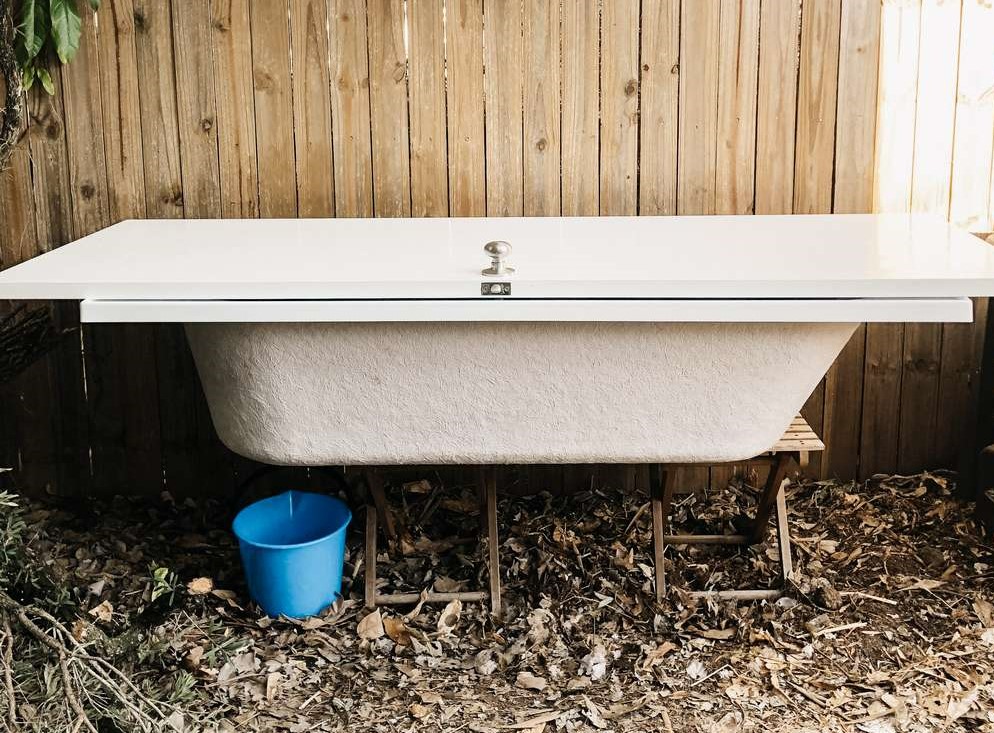
Start by thoroughly cleaning the bathtub to remove any soap scum, grime, or chemical residues. This step is crucial as leftover chemicals can harm your worms. Once cleaned, place the bathtub on a set of cinder blocks or bricks, ensuring that it is elevated enough to allow for drainage. The elevation will also make it easier to collect the compost tea that drains out.

2. Set Up Drainage

Cover the drain hole with a fine mesh or a piece of cloth. This prevents the worms from escaping while still allowing excess water to drain out. If your bathtub doesn’t have a drain plug, you can create one using a small piece of PVC pipe fitted with a mesh screen.

3. Add the Bedding

The bedding serves as the worms’ habitat and initial food source. It should be moist but not soaking wet. Fill the bathtub with about 8-12 inches of bedding material. This can include shredded newspaper, cardboard, or coconut coir. Ensure the bedding is loose and well-mixed to provide ample airflow, which is vital for worm health.

4. Introduce the Worms

Once the bedding is in place, it’s time to add your worms. Red wigglers are the most efficient worms for composting and can consume their weight in organic material daily. Spread the worms evenly across the bedding and allow them to burrow into it naturally. It’s essential to introduce the worms in the evening or during cooler parts of the day to avoid stressing them.

5. Feed the Worms

Now that your worms are settled, you can begin feeding them. Start with small amounts of food scraps, gradually increasing as the worms multiply. Ideal food scraps include vegetable peels, fruit scraps, coffee grounds, eggshells, and tea bags. Avoid meat, dairy, and oily foods as these can attract pests and create odors. Bury the food in the bedding to prevent fruit flies and keep the bin tidy.

bathtub
6. Cover the Bin

Cover the bedding with a plastic sheet or burlap sack to help retain moisture and keep light out. Worms thrive in dark, moist environments, and the cover will create the perfect conditions for them. Ensure that the cover allows for some airflow to prevent the bin from becoming too wet.

7. Maintain the Worm Bin

Maintaining the bathtub worm bin is relatively simple. Keep an eye on the moisture levels, ensuring the bedding remains damp but not waterlogged. If the bin becomes too dry, lightly mist it with water. Regularly check the worm bin to ensure the worms are healthy and reproducing. Every few weeks, gently turn the bedding with a garden fork or trowel to aerate the compost and prevent compacting.

Harvesting the Compost

After about three to six months, your worms will have converted the bedding and food scraps into rich, dark compost. To harvest, push the compost to one side of the bathtub and add fresh bedding and food to the other side. Over the course of a week, the worms will migrate to the new food source, leaving behind the compost. You can then scoop out the compost and use it in your garden.

Benefits of a Bathtub Worm Bin

Using a bathtub worm bin offers several advantages:

  • Large Capacity: A bathtub can hold a significant amount of organic waste, making it suitable for households with substantial kitchen waste.
  • Durability: Bathtubs are built to last, ensuring your worm bin will be a long-term solution for waste management.
  • Eco-Friendly: Repurposing an old bathtub reduces waste and promotes sustainability.
  • High-Quality Compost: Vermicompost is rich in nutrients, enhancing soil fertility and promoting healthy plant growth.

Common Issues and Troubleshooting

Even with proper setup and maintenance, you might encounter some issues. Here are a few common problems and how to address them:

  • Foul Odors: If the bin starts to smell, it’s likely too wet or overfed. Add more dry bedding and reduce the amount of food added until the smell subsides.
  • Fruit Flies: Fruit flies are attracted to exposed food. To avoid this, ensure all food scraps are buried in the bedding.
  • Worms Escaping: If you notice worms trying to leave the bin, it could be due to poor conditions. Check the moisture level, temperature, and pH of the bin and adjust accordingly.
bathtub

DIY Bathtub Worm Bin Tips

To maximize the success of your worm bin, consider these additional tips:

  • Start Small: If you’re new to vermicomposting, start with a smaller amount of worms and gradually increase as you become more comfortable with the process.
  • Monitor Temperature: Worms prefer temperatures between 55-77°F (13-25°C). In extreme weather, consider moving the bin to a more temperature-controlled environment.
  • Use Diverse Bedding: A mix of different bedding materials can provide a more balanced environment for the worms.
  • Collect Compost Tea: The liquid that drains from the worm bin, known as compost tea, is an excellent liquid fertilizer for your plants. Place a bucket under the drain to collect this valuable byproduct.

Conclusion

Building a DIY bathtub worm bin is an effective and sustainable way to manage organic waste and produce high-quality compost for your garden. With proper setup and maintenance, your worm bin will provide you with rich compost and a satisfying way to contribute to environmental conservation. By following this guide, you’ll be well on your way to transforming your food scraps into garden gold while giving new life to an old bathtub.

Eggspose: Exposing Egg Expiration Dates

exposing egg expiration dates

When it comes to food safety, one of the most frequently asked questions is about the expiration dates on eggs. Are they a strict guideline, or is there some flexibility? How can you tell if an egg is still safe to eat beyond its labeled date? This article will delve deep into the topic of egg expiration dates, separating myth from fact and providing you with the knowledge you need to safely enjoy your eggs.

Understanding Egg Expiration Dates

Egg expiration dates are typically printed on the carton, but understanding what they mean can be confusing. There are generally two types of dates you’ll find: the “sell by” date and the “expiration” date.

See Also: Tree pruning service: essential tips for homeowners.

https://www.youtube.com/watch?v=dGYzMGFtnKY&pp=ygUnRWdnc3Bvc2U6IEV4cG9zaW5nIEVnZyBFeHBpcmF0aW9uIERhdGVz
  • Sell By Date: This date is meant for the retailer, indicating how long the eggs can be displayed for sale. It’s not necessarily an indicator of egg freshness or safety, but rather a guideline for stores to rotate their stock.
  • Expiration Date: This date is usually a bit more concrete. It suggests when the eggs are expected to be at their best quality. However, eggs can often remain safe to eat past this date if they have been stored properly.

How Long Do Eggs Really Last?

Eggs can last longer than many people realize. Properly stored in the refrigerator, eggs can often be consumed safely for several weeks beyond their expiration date. According to the USDA, eggs are safe to eat for up to three to five weeks after you purchase them, even if the expiration date has passed.

Factors Affecting Egg Freshness
  • Storage Conditions: Eggs should be kept in the refrigerator at or below 40°F (4°C). Storing eggs at a consistent, cold temperature slows down the growth of bacteria, such as Salmonella, and helps maintain the egg’s quality.
  • Eggshell Integrity: A cracked or damaged eggshell allows bacteria to enter the egg, compromising its safety. Always check your eggs for any signs of cracks before purchasing or consuming them.
  • Time: Over time, eggs will gradually lose moisture and carbon dioxide through their porous shells. This causes the egg white to become thinner and the yolk to stand less tall, which are signs of an aging egg.

How to Test Egg Freshness at Home

If you’re unsure whether your eggs are still good, several simple tests can help determine their freshness. These methods are easy to perform and don’t require any special equipment.

The Water Test

One of the most popular methods is the water test. Fill a bowl with cold water and gently place the egg in it. Here’s what the results mean:

  • Fresh Eggs: The egg will sink to the bottom and lay flat on its side.
  • Slightly Older Eggs: The egg will stand upright on the bottom, indicating that some air has entered the shell, but it’s still safe to eat.
  • Old Eggs: The egg will float to the surface. Floating eggs should be discarded as they are likely spoiled.
The Sniff Test

Another quick way to determine if an egg has gone bad is by giving it a sniff. Crack the egg open and smell it. A fresh egg will have a neutral smell, while a spoiled egg will give off a strong, unpleasant odor. If the egg smells bad, it’s best to toss it.

The Candling Method

Candling is a technique used by egg producers to inspect the quality of eggs. By holding an egg up to a bright light, you can see the size of the air cell inside. A small air cell indicates a fresh egg, while a large air cell means the egg is older. Although this method requires a bit more skill, it can be a fun way to check your eggs’ freshness.

The Science Behind Egg Spoilage

Eggs spoil due to bacterial growth and chemical changes within the egg. Bacteria like Salmonella can enter the egg through tiny pores in the shell, especially if the egg is not stored properly. As the egg ages, the egg white thins out, and the membrane separating the yolk and white weakens, making it easier for bacteria to reach the yolk, where they can thrive.

pH Changes

As an egg ages, the pH of the egg white increases, making it more alkaline. This change in pH can affect the egg’s texture and taste, and it also impacts how well the egg will cook.

egg expiration dates
Enzymatic Activity

Enzymes naturally present in the egg can also contribute to spoilage. These enzymes break down proteins and fats over time, leading to off-flavors and odors.

Can You Eat Eggs After the Expiration Date?

The expiration date on an egg carton is a guideline for peak quality, not necessarily safety. As mentioned earlier, eggs can remain safe to eat for several weeks beyond the expiration date if they are stored properly. However, it’s crucial to use your senses—sight, smell, and touch—to determine if an egg is still good.

Cooking Eggs Safely

Even if an egg is past its expiration date, it can often be consumed safely if it’s thoroughly cooked. Cooking eggs to a temperature of 160°F (71°C) will kill any harmful bacteria, reducing the risk of foodborne illness. Always cook eggs until both the yolk and white are firm, and use pasteurized eggs for dishes that require raw or lightly cooked eggs.

The Importance of Egg Storage

Proper storage is key to extending the shelf life of your eggs. Here are some tips for storing eggs to maximize their freshness:

  • Refrigerate Promptly: Store eggs in the refrigerator as soon as possible after purchasing them. This reduces the risk of bacterial growth.
  • Keep Eggs in Their Carton: The carton helps protect the eggs from absorbing strong odors and flavors from other foods in the refrigerator. It also helps prevent moisture loss.
  • Avoid Storing Eggs on the Door: The temperature on the refrigerator door fluctuates more than the interior, which can affect the eggs’ freshness. Store eggs on a shelf inside the refrigerator instead.

The Role of Egg Producers in Ensuring Freshness

Egg producers play a crucial role in ensuring the eggs you buy are fresh and safe to eat. Here’s how they maintain quality:

  • Proper Handling: Eggs are collected, washed, and refrigerated as quickly as possible to minimize bacterial growth.
  • Candling: As mentioned earlier, candling is used to inspect the quality of the eggs before they are packaged.
  • Grading: Eggs are graded based on their size and quality. Higher-grade eggs are less likely to have defects or damage that could lead to spoilage.
egg expiration dates

Myths About Egg Expiration Dates

There are many myths surrounding egg expiration dates. Here are some of the most common ones debunked:

  • Myth 1: Eggs are unsafe to eat after the expiration date. As discussed, eggs can often be safely consumed weeks after their expiration date if stored properly.
  • Myth 2: The sell-by date is the same as the expiration date. The sell-by date is intended for retailers, while the expiration date is for consumers. They are not the same thing.
  • Myth 3: Eggs should be discarded if they float in water. While floating eggs are generally older, they are not always spoiled. Use other methods, like the sniff test, to confirm if they’re still good.

Conclusion

Understanding egg expiration dates can help you reduce food waste and enjoy eggs safely. By learning how to properly store eggs, test for freshness, and cook them correctly, you can extend the shelf life of your eggs and make informed decisions about when to use or discard them. Remember, the expiration date is a guideline for quality, not a strict deadline for safety. Use the tips and techniques outlined in this article to confidently navigate the world of egg expiration dates and ensure that every egg you crack open is fresh and delicious.

Broken Pot Fairy Garden: A Magical DIY Project

broken pot fairy garden

Introduction

Creating a fairy garden is a delightful way to bring a touch of magic to your outdoor space. A broken pot fairy garden is particularly charming, as it transforms an otherwise discarded item into a whimsical scene straight out of a fairy tale. This DIY project is perfect for both seasoned gardeners and beginners looking to explore their creativity. In this guide, we will walk you through the steps of creating your own broken pot fairy garden, offering tips on design, plant selection, and maintenance.

What is a Broken Pot Fairy Garden?

A broken pot fairy garden is a miniature garden created within the shards of a broken pot. These gardens often feature small plants, decorative elements, and tiny fairy figurines arranged to create a magical scene. The broken pieces of the pot are used creatively to form terraces, stairs, or walls within the garden, adding depth and dimension to the design.

Read More: Tree pruning service: essential tips for homeowners.

Why Choose a Broken Pot Fairy Garden?

Broken pot fairy gardens have gained popularity for several reasons:

  • Upcycling: They are an excellent way to repurpose a broken pot that might otherwise be thrown away, contributing to sustainable gardening practices.
  • Creativity: These gardens allow for endless creative possibilities, as each broken pot presents a unique canvas.
  • Space-Saving: Perfect for small spaces, a broken pot fairy garden can fit on a balcony, patio, or even a windowsill.
  • Child-Friendly: This project is an engaging activity for children, encouraging them to explore gardening and use their imagination.

Getting Started: Materials and Tools

Before you begin, gather the following materials and tools:

  • Broken Pot: The centerpiece of your fairy garden. The pot should have large enough pieces to create terraces or walls. If you don’t have a broken pot, you can carefully break one to create the necessary shards.
  • Soil: A good quality potting mix is essential for the health of your plants.
  • Small Plants: Choose plants that are suitable for container gardening and fit the scale of your garden.
  • Decorative Elements: Miniature fairy houses, figurines, pebbles, moss, and other small decorations will bring your fairy garden to life.
  • Tools: A small trowel, gloves, and a watering can.

Step-by-Step Guide to Creating a Broken Pot Fairy Garden

1. Prepare the Broken Pot

Begin by assessing the broken pot. If it is not already broken, you can use a hammer to carefully break it into large pieces. The goal is to create shards that can be used to build terraces or walls within the pot. Be sure to wear gloves to protect your hands from sharp edges.

Tip: If the pot has a large, intact piece, use it as the base of your garden, with smaller pieces arranged creatively around it.

2. Design the Layout

Before adding soil, design the layout of your garden. Arrange the pot shards within the pot to create levels, steps, or partitions. This is where your creativity comes into play. Consider the placement of plants and decorative elements, ensuring that the design is balanced and visually appealing.

Transition Words: Once your layout is planned, you can begin filling the pot with soil.

fairy garden

3. Add Soil and Plants

Fill the pot with soil, making sure to pack it firmly around the shards to keep them in place. Begin planting by starting with the largest plants first, then adding smaller ones. When selecting plants, consider the following:

  • Scale: Choose small plants that will not outgrow the pot. Succulents, dwarf ferns, and miniature flowering plants are ideal.
  • Light Requirements: Ensure that the plants have similar light and water needs.
  • Texture and Color: Mix plants with different textures and colors to add interest to the garden.

Tip: Leave some space for decorative elements and pathways.

4. Incorporate Decorative Elements

Now it’s time to add the magic! Place fairy houses, figurines, and other decorations in your garden. Use small pebbles or sand to create pathways, and add moss for a natural, forest-like feel. Arrange the decorations in a way that tells a story or creates a scene.

Transition Words: After placing the decorations, step back to view the garden from different angles to ensure it looks cohesive.

5. Water and Care for Your Fairy Garden

Once your broken pot fairy garden is complete, give it a light watering. The amount of water needed will depend on the types of plants you’ve chosen. Be careful not to overwater, as excess moisture can cause the plants to rot.

Maintenance Tips:

  • Watering: Keep the soil moist but not soggy. Water when the top inch of soil feels dry.
  • Sunlight: Place the garden in a spot that receives the appropriate amount of light for your plants.
  • Pruning: Regularly trim the plants to keep them small and neat.
  • Cleaning: Remove any fallen leaves or debris to keep the garden looking fresh.

Creative Ideas for Your Broken Pot Fairy Garden

There are endless possibilities when it comes to designing your fairy garden. Here are some ideas to inspire you:

  • Seasonal Themes: Create a garden that reflects the seasons, with spring flowers, summer greenery, autumn leaves, or winter decorations.
  • Fairy Village: If you have multiple broken pots, use them to create a series of interconnected gardens, forming a fairy village.
  • Water Features: Add a small water feature, such as a tiny pond or fountain, for a tranquil touch.
  • Lighting: Use solar-powered fairy lights or miniature lanterns to illuminate your garden at night.

Transition Words: Whether you choose a classic fairy tale theme or a modern twist, the key is to let your imagination guide you.

fairy garden

Benefits of Creating a Broken Pot Fairy Garden

Building a broken pot fairy garden offers several benefits:

  • Stress Relief: Gardening is known to reduce stress, and working on a small, creative project like this can be particularly soothing.
  • Connection with Nature: Even if you don’t have a large outdoor space, a fairy garden allows you to connect with nature.
  • Educational Value: This project can teach children about plant care, design, and the importance of recycling.
  • Sustainability: By repurposing a broken pot, you contribute to reducing waste and promoting eco-friendly practices.

Conclusion

A broken pot fairy garden is more than just a decoration; it’s a creative expression that brings joy and a sense of wonder to any space. Whether you’re an experienced gardener or a beginner, this project offers the perfect opportunity to explore your creativity and connect with nature. With careful planning, the right materials, and a little imagination, you can create a miniature world that delights both the eyes and the spirit.

3 Bag Easy Automatic Chicken Feeder: A Comprehensive Guide

automatic chicken feeder

Keeping your chickens well-fed is essential for their health and productivity. An automatic chicken feeder can be a game-changer, especially when it’s designed to hold a significant amount of feed, like the 3 Bag Easy Automatic Chicken Feeder. This guide will walk you through everything you need to know about this feeder, from its features and benefits to how it can make your poultry management more efficient.

Introduction to the 3 Bag Easy Automatic Chicken Feeder

For poultry farmers and backyard chicken keepers, feeding chickens can be a daily chore that requires time and effort. The 3 Bag Easy Automatic Chicken Feeder is designed to simplify this task by allowing you to store up to three bags of feed, ensuring your chickens are fed regularly even when you’re not around. This feeder is an excellent investment for anyone looking to reduce manual feeding tasks while ensuring their flock is well-nourished.

See Also: Top tree pruning services for a healthy landscape.

Benefits of Using an Automatic Chicken Feeder

Using an automatic feeder comes with several benefits that can enhance the overall management of your chickens:

  • Time-Saving: With the ability to hold up to three bags of feed, this feeder reduces the frequency of refilling, giving you more time to focus on other aspects of poultry care.
  • Consistent Feeding: Automatic feeders ensure that your chickens have access to food at all times, promoting consistent growth and health.
  • Reduced Waste: The design of the feeder minimizes spillage and waste, ensuring that feed is consumed efficiently by your chickens.
  • Pest Control: By keeping feed enclosed, the feeder helps to deter pests such as rodents and wild birds that are attracted to open feed.

Features of the 3 Bag Easy Automatic Chicken Feeder

The 3 Bag Easy Automatic Chicken Feeder is packed with features that make it a top choice for poultry enthusiasts:

  • Large Capacity: With the ability to hold up to three bags of feed, this feeder ensures that your chickens have a steady supply of food without frequent refills.
  • Durable Construction: Made from high-quality materials, the feeder is built to withstand the elements and the daily wear and tear of a busy poultry yard.
  • Easy to Use: The feeder is designed for ease of use, with simple mechanisms for refilling and adjusting the flow of feed.
  • Weatherproof Design: The feeder is weatherproof, protecting the feed from rain and moisture, which can cause spoilage.
  • Pest-Resistant: The enclosed design helps to keep pests out, ensuring that your chickens are the only ones benefiting from the feed.

How to Set Up and Maintain the 3 Bag Easy Automatic Chicken Feeder

Setting up the 3 Bag Easy Automatic Chicken Feeder is straightforward, and with proper maintenance, it can last for years. Here’s a step-by-step guide to getting started:

chicken feeder
  1. Placement: Choose a suitable location for the feeder, ideally in a sheltered area to protect it from extreme weather conditions. Ensure the ground is level to prevent the feeder from tipping over.
  2. Assembly: Follow the manufacturer’s instructions to assemble the feeder. Most models are designed for easy assembly with minimal tools required.
  3. Filling the Feeder: Fill the feeder with up to three bags of chicken feed. Make sure to use the appropriate type of feed for your chickens’ needs.
  4. Adjusting Feed Flow: Adjust the feed flow mechanism to regulate the amount of feed dispensed. This helps to prevent overfeeding and reduces waste.
  5. Maintenance: Regularly check the feeder for any signs of wear or damage. Clean the feeder periodically to prevent the buildup of mold or bacteria.

Tips for Maximizing the Efficiency of Your Automatic Chicken Feeder

To get the most out of your 3 Bag Easy Automatic Chicken Feeder, consider the following tips:

  • Monitor Feed Levels: Although the feeder holds a large amount of feed, it’s essential to monitor feed levels regularly to ensure your chickens always have access to food.
  • Clean Regularly: Keep the feeder clean to prevent contamination. A clean feeder ensures that your chickens are eating healthy, uncontaminated food.
  • Adjust for Different Seasons: Depending on the season, you may need to adjust the feed flow to accommodate changes in your chickens’ dietary needs. For example, chickens may eat more during colder months to generate body heat.

Common Issues and Troubleshooting

While the 3 Bag Easy Automatic Chicken Feeder is designed to be reliable, you may encounter occasional issues. Here are some common problems and how to resolve them:

  • Feed Not Dispensing Properly: If the feed isn’t dispensing as expected, check for blockages or clogs in the feed chute. Ensure that the feed is dry and free-flowing.
  • Pest Infestation: If you notice pests around the feeder, make sure the lid is securely closed and that there are no gaps or openings for pests to enter.
  • Feeder Tipping Over: If the feeder tips over, consider placing it on a more stable surface or anchoring it to the ground.
chicken feeder

Why Choose the 3 Bag Easy Automatic Chicken Feeder?

The 3 Bag Easy Automatic Chicken Feeder stands out for its combination of convenience, durability, and efficiency. Whether you’re managing a small backyard flock or a larger poultry operation, this feeder can make your life easier by reducing the time and effort required for feeding. Additionally, its large capacity and pest-resistant design ensure that your chickens are well-fed without attracting unwanted visitors to your poultry yard.

Conclusion

Investing in the 3 Bag Easy Automatic Chicken Feeder is a smart choice for anyone looking to streamline their poultry management. With its large capacity, durable construction, and user-friendly design, this feeder provides a reliable and efficient way to keep your chickens fed and healthy. By following the setup and maintenance tips provided in this guide, you can maximize the lifespan and performance of your feeder, ensuring that it continues to serve your needs for years to come.